
Selecting the perfect cooler is not a one-size-fits-all endeavor. The “best” option depends entirely on your destination, the duration of your trip, and the terrain you intend to navigate. Whether you are heading to a local beach for an afternoon or embarking on a multi-day wilderness expedition, understanding the different categories of coolers and their technical capabilities is essential to keeping your food safe and your drinks cold.
Understanding Cooler Categories
Coolers generally fall into three distinct categories, each serving a specific type of user and environment.
Hard-Sided Coolers: The Heavy-Duty Workhorses
Hard-sided coolers range from budget-friendly, classic models to premium, high-performance units.
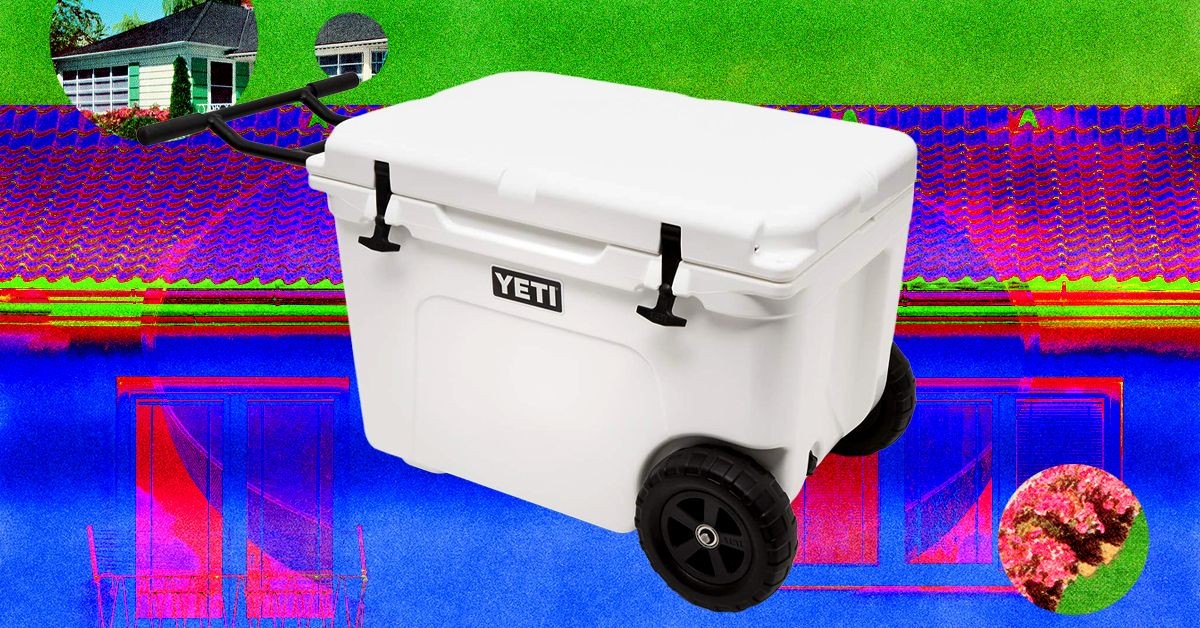
– The Rotomolding Revolution: Modern high-end coolers (like those from Yeti) utilize a process called rotational molding (or rotomolding). This involves molding melted plastic over foam insulation in a single, seamless piece.
– Why it matters: Unlike traditional, inexpensive coolers that often have thin walls and leaky seams, rotomolded coolers provide uniform density and airtight seals. This significantly enhances thermal retention, making them ideal for long trips in high heat.
– Trade-offs: While they offer superior insulation and often include premium features like leakproof lids and bear-resistant construction, they are significantly heavier and bulkier than other options.
Soft-Sided Coolers: Portability and Versatility
Soft coolers are designed for convenience. They range from insulated sling bags to roll-down, dry-bag styles.
– Best Use Cases: These are perfect for short outings, beach days, or situations where space is limited. They are much easier to pack and carry than hard-sided models.
– Trade-offs: The primary drawback is thermal performance; ice will not last as long in a soft-sided cooler as it will in a rotomolded hard-sided one.
Electric Coolers: Constant Temperature
For long-term adventures where power is accessible (such as in a vehicle or a campsite with electricity), electric coolers offer a high-tech alternative. These eliminate the need for ice entirely, providing a consistent temperature for your perishables.
Essential Features to Prioritize
When comparing specific models, look for these functional elements to improve your experience:
- Drain Plugs: Crucial for larger models, these allow you to easily remove melted water without tipping the entire unit.
- Dividers: A dividing wall allows you to separate “high-frequency” items (drinks) from “low-frequency” items (meat and perishables). This prevents the constant opening of the main compartment from letting cold air escape.
- Wheels: If you are transporting heavy loads over flat surfaces, wheels are a massive advantage. However, be aware that standard wheels may struggle with rugged, uneven terrain like tree roots or sand.
Pro Tips for Maximizing Ice Life
Even the best cooler will struggle if it is placed in a 160°F car trunk. To get the most out of your investment, follow these professional cooling strategies:
- Pre-Chill the Unit: Before packing your food, fill the cooler with ice for a few hours to bring the internal temperature down to freezing.
- The Two-Cooler Strategy: Use one cooler as a “fridge” that you rarely open to protect perishables, and a second, smaller cooler for snacks and drinks.
- Strategic Packing: Place larger items and ice packs at the bottom. Cold air sinks, so keeping the heavy mass at the base helps maintain a consistent temperature gradient.
- Use Block Ice: Large blocks of ice have less surface area relative to their mass than cubed ice, meaning they melt much more slowly. Use blocks to supplement or even replace cubed ice for long-term cooling.
How We Test Performance
To ensure our recommendations are grounded in reality, we subject coolers to real-world conditions—from camping trips to tailgating. We specifically utilize two internal benchmarks:
* The Ice Melt Test: Measuring how long it takes for a standard 7-pound bag of ice to disappear in temperatures between 70°F and 92°F.
* The Coors Light Test: Monitoring how long beverage cans remain at an ideal temperature (42–48°F) before warming into the “gray zone” (above 48°F).
Conclusion: The right cooler is a balance of thermal performance and physical practicality; prioritize rotomolded hard-sided models for longevity, and soft-sided models for ease of movement.


